[Hearthstone Battlegrounds]
Sky Golem Comp and How to Play
Last updated: 2026-10-20 19:28

This comp is from a previous meta and may not be recommended in the current meta.

 4
 2
 36
 31
Sky Golem
How to build and play Sky Golem in Hearthstone Battlegrounds. Covers key parts, optional minions, recommended Trinkets and Heroes, and favorable/unfavorable matchups.
B Tier comps


Sponsored Links
Rating
Sky Golem
Quick Assessment
- ·A fallback for Deathrattle-heavy comps whose scaling didn't take off.
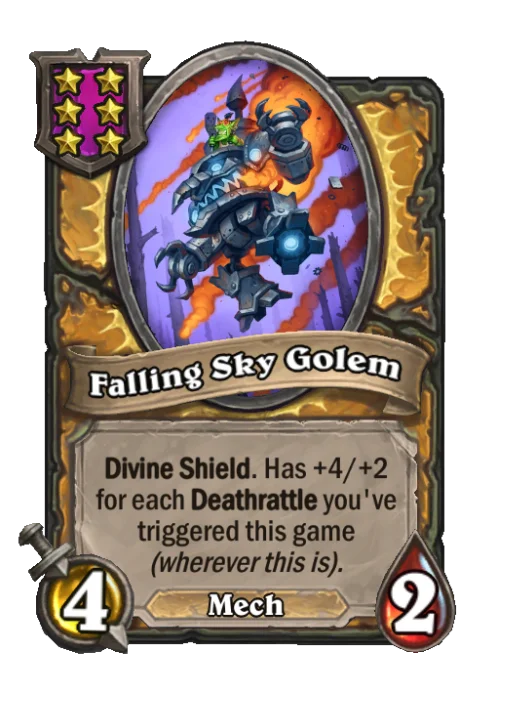
- ·As long as you're triggering Deathrattles, Falling Sky Golem scales
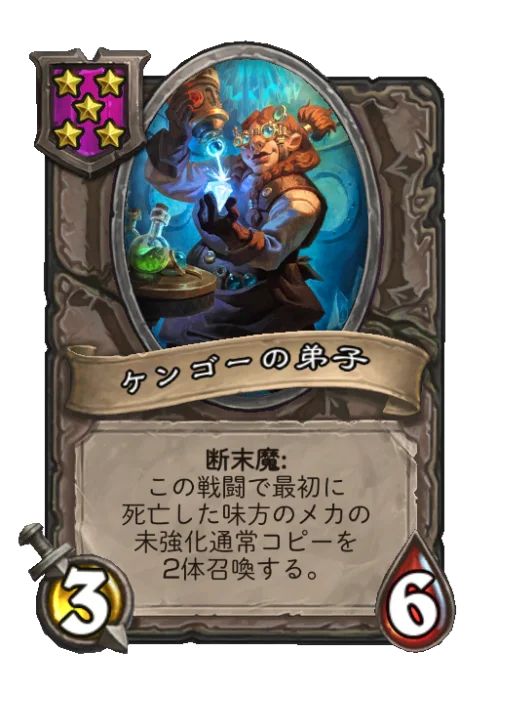
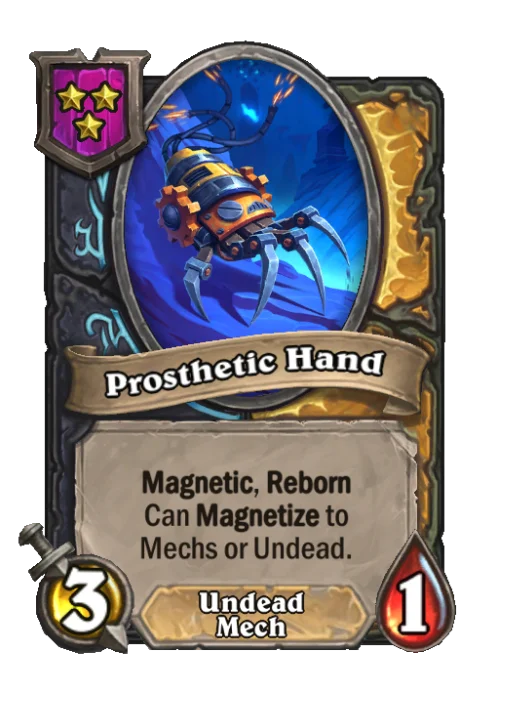
- ·Run Falling Sky Golem as your only Mech, and increase your numbers with Reborn and Kangor's Apprentice
Community Rating
Sky Golem Rating
12votes
Your rating: / 10 — Use the buttons belowto change your rating How strong is this comp? (Tap to vote)
When to Pivot
Pivot to this comp once you have the pieces below.
Comp Breakdown
EssentialKey Pieces
Other Minion Options
Not as essential as the Key Pieces, but they help stabilize your board.
Season 14 Comps
Best Comp Rankings →This comp is from a previous meta. Current meta comps are listed below.
S Tier3 entries
A Tier8 items



B Tier8 items
C Tier3 entries

Recommended Trinkets and Heroes
Recommended Trinkets
Greater Trinkets

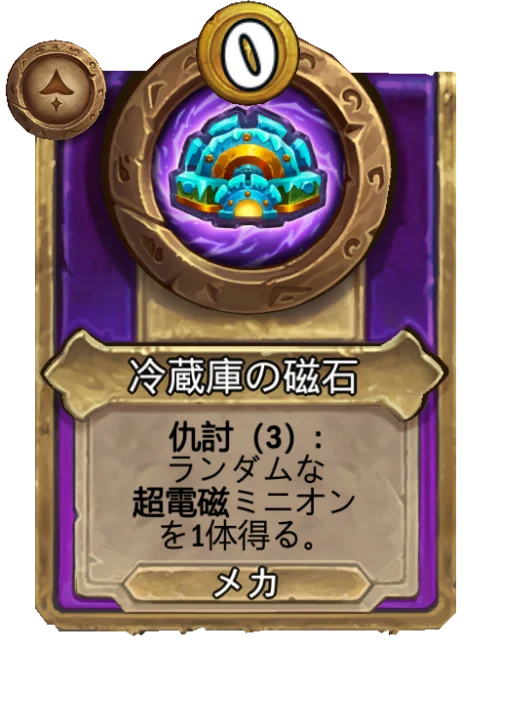
Lesser Trinkets
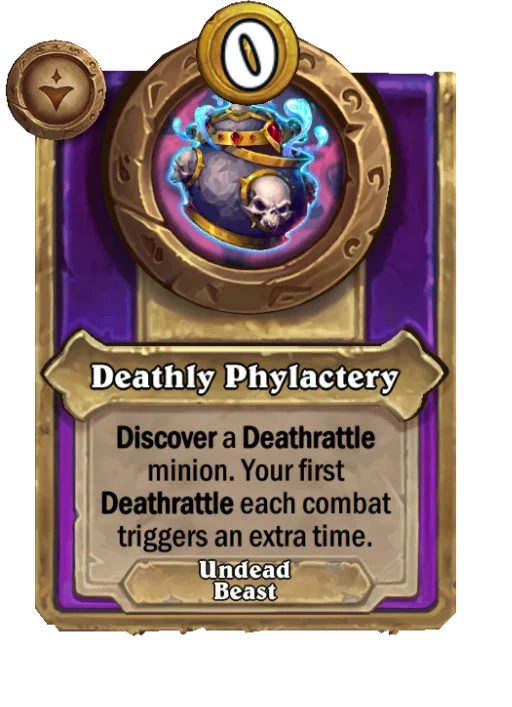
Recommended Heroes


How to Play
Early to Mid Game
This is the comp to transition into when you've been fighting with Deathrattles but couldn't scale enough.
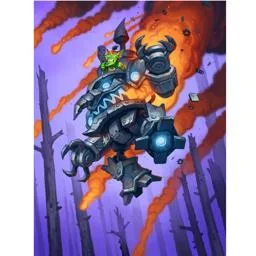
Falling Sky Golem is permanently buffed based on the number of Deathrattles triggered this game, so it's a solid target even partway through if you've been triggering lots of Deathrattles.
Its biggest strength is that you can transition into it naturally from a Deathrattle comp.
Late Game (Tier 6+)
Goal: center on Falling Sky Golem and keep growing your combat power with Deathrattle loops.
Falling Sky Golem keeps its permanent buffs and Divine Shield even when resummoned, so it pairs extremely well with Reborn effects and Kangor's Apprentice.
Bring your high-stat Falling Sky Golem back to the battlefield again and again, weathering the opponent's board as you fight.
It's also important to actively trigger Deathrattle minions to keep growing Falling Sky Golem into the late game.
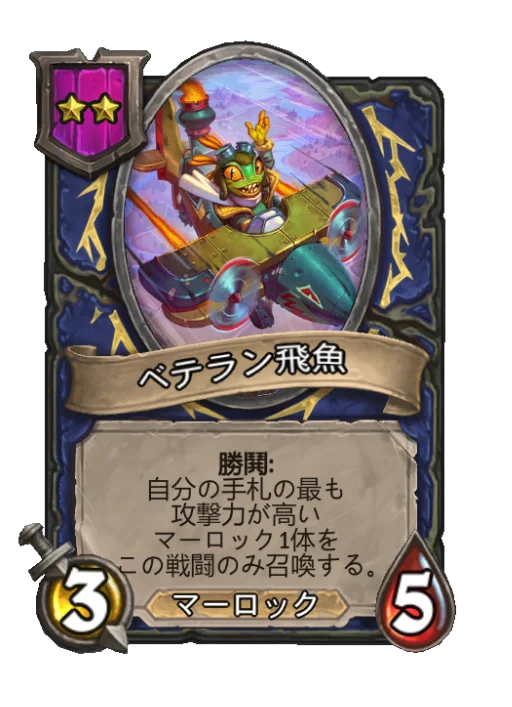
Because it needs few parts, it's easy to fold in other synergies at the same time, such as Hand Murlocs or Magnetic Mechs.
Win condition
Deploy a huge Divine Shield Falling Sky Golem again and again and push through on board strength.
The size of Falling Sky Golem's buff is determined by the total number of Deathrattles triggered this game.
- ·Trigger lots of Deathrattle minions
- ·Resummon Falling Sky Golem again and again
- ·Weather the opponent's board with Divine Shield and high stats
That's the flow of how this comp fights.
It also has plenty of flex slots, and another strength is being able to hold a second win condition at the same time, such as Hand Murlocs or Magnetic Mechs.
Synergies
Falling Sky Golem × Deathrattle
Every time a Deathrattle triggers, Falling Sky Golem gains a permanent +4/+2.
So the more Deathrattle minions you run, the faster it grows, reaching an overwhelming size in the late game.
Kangor's Apprentice × Falling Sky Golem
Kangor's Apprentice can redeploy dead Mechs, growing your Deathrattle count and your board's combat power at the same time.
Repeatedly bringing Falling Sky Golem back to the battlefield forms the core loop of this comp.
Falling Sky Golem × Magnetic
By concentrating Magnetic minions onto Falling Sky Golem, you can consolidate Divine Shield and Reborn effects into a single minion.
This raises its value when resummoned and further increases its impact on the board.
Falling Sky Golem × Other Comps
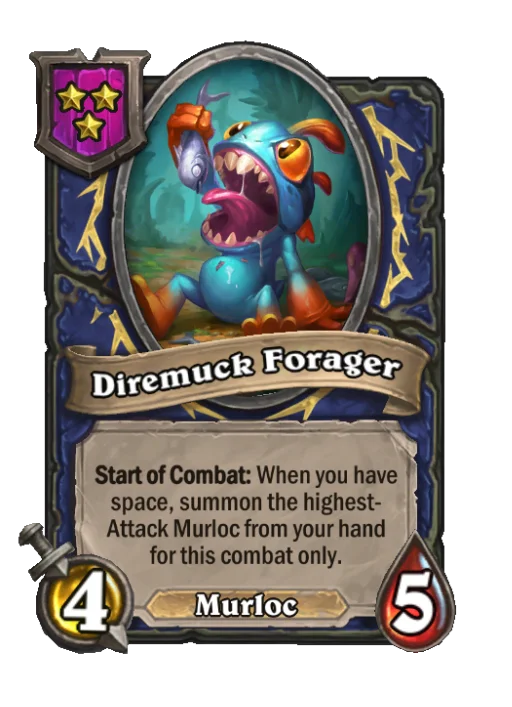

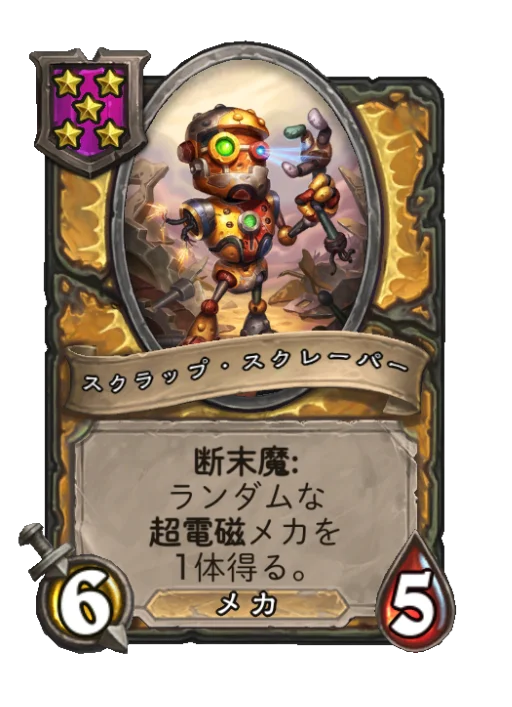

The Falling Sky Golem comp needs few essential parts, so you can use the open slots to fold in other synergies.
It pairs especially well with Hand Murlocs, and its appeal is the flexibility to change how you fight depending on the opponent's comp.
Sponsored Links
Handy Tricks
- ·Falling Sky Golem's Deathrattle count progresses whether it's on your board, in the Tavern, or in your hand
- ·You don't need to hold it from the early game; it performs well even if you buy it after triggering lots of Deathrattles
- ·An excellent landing spot when a Deathrattle comp stalls out
Positioning and Notes
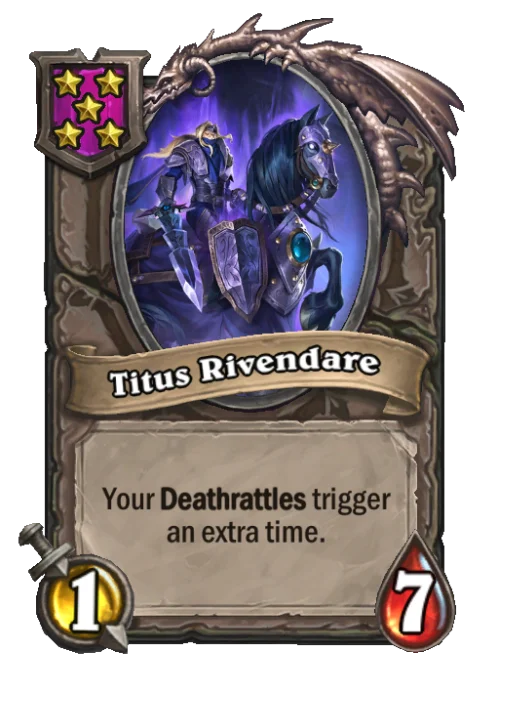
If Kangor's Apprentice or Titus Rivendare get taken out first by something like Sin'dorei Straight Shot, your Deathrattle loop breaks and your combat power drops sharply.
Adjust your Taunt positioning so that Falling Sky Golem and your Deathrattle minions die first.
When Parts Don't Show Up (When to Pivot)
If you can't assemble Falling Sky Golem or Deathrattle Mechs, don't force it; knowing when to move to another Mech comp is also important.
- ·Fight by merging → Magnetic Mechs
- ·Fight by flooding the board → Auto Assembler
- ·When Mechs are banned → Back to Back
Your Deathrattle count never goes to waste, so switch comps flexibly depending on the situation.
Sponsored Links